Convert Zarr to Icechunk with just a few clicks!

Software Engineer
Tl;dr: Arraylake has a neat new button that can ingest any Zarr store into Icechunk format for you, from any supported cloud.
Icechunk vs “Native Zarr”
One often misunderstood thing about Icechunk is the sense in which Icechunk is and is not Zarr. Icechunk exposes the Zarr Store API (i.e. it can be accessed like other Zarr stores), but under the hood it is its own distinct format on-disk. This is what allows Icechunk to implement all its powerful features, such as transactions and virtual chunks.
Conversely, we refer to the original type of Zarr stores as using the “Native Zarr format”, since their layout on disk is different to (and predates) Icechunk. Such Zarr stores are cloud-optimized and highly scalable, but do not benefit from Icechunk’s other features.
Virtually Zarr
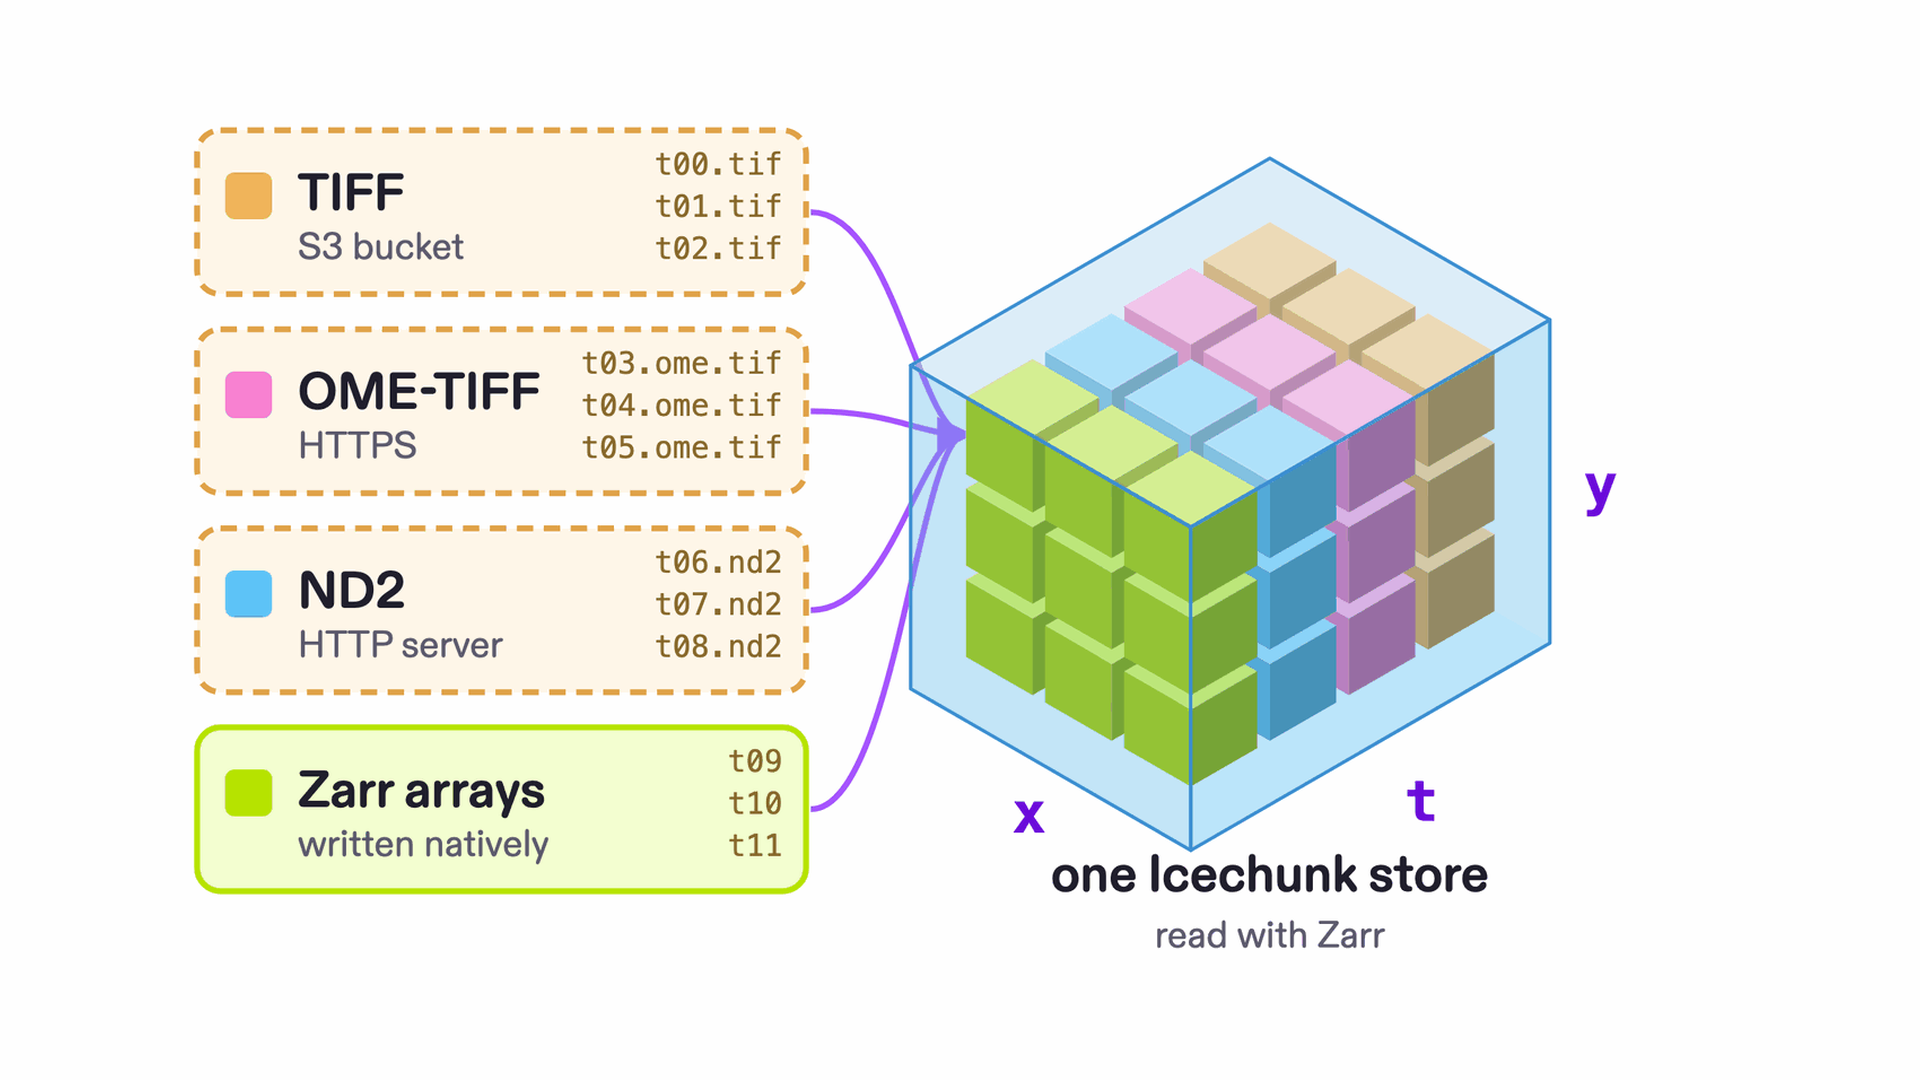
Thanks to the magic of virtual chunks, it is possible to create an Icechunk store that contains only virtual chunks that point at the real chunks of an existing native Zarr store. This is a zero-copy operation - we are not duplicating the binary chunk data from the source Zarr store! This is exactly the same idea as when we create virtual references pointing at NetCDF, TIFF, or GRIB files.
VirtualiZarr comes with a ZarrParser for this purpose, and whilst using it is only a few lines of Python, that still requires you to:
- Have Python available,
- Install VirtualiZarr and all the other dependencies,
- Set up the Obstore registry for the bucket correctly,
- Including generating any credentials required,
- Do that again for the location you want to write the Icechunk store to,
- Find the exact path within the bucket containing the Zarr store you want to ingest,
- Run the correct python incantation.
Magic button
Since we often meet people who have existing data in native Zarr format, we added a neat new button (docs here) to Arraylake that will ingest a native Zarr store for you, while you wait!
Arraylake works by you granting it permissions to read and write from the buckets you care about, by defining a corresponding “Bucket Config”. Once set up, this abstraction is something you won’t want to live without. It makes cloud-based work much simpler to be able to refer to buckets just by a “nickname”. It covers multiple different cloud providers, allows you to stop having to think about access keys and secrets and so on.
With the buckets set up, the ingestion is trivial. Just specify the bucket where the native Zarr data lives, and the bucket you want your new Icechunk repo to live in. (Arraylake even automatically detects any Zarr stores in your bucket!)
Then hit the button! Arraylake will launch a job to create virtual references and write them into a new Icechunk repo, updating you on its progress. It should take about 30 seconds to run.
Software Engineer